
2 Types Of Basic Kitchen Equipment Maintenance

Introduction
Most commercial food businesses use heavy-duty, industrial-grade kitchen equipment. When it malfunctions, replacing it is costly. Regular basic kitchen equipment maintenance is essential to ensure kitchen equipment lasts longer and is running smoothly.
This blog article shares cleaning and maintenance tips for common kitchen equipment types.
2 Types of Commercial Kitchen Equipment Maintenance
1. Preventive Maintenance

As the name suggests, preventive maintenance prevents equipment breakdown. Preventive maintenance prevents the risk of total equipment failure by finding and fixing issues early. It follows best practice maintenance strategies recommended by manufacturers.
Maintenance time varies depending on equipment type. A comprehensive inspection usually takes 2 to 7 days.
Depending on your equipment type, schedule preventive maintenance (or interval maintenance) quarterly, biannually, or annually.
Maintenance teams with trained technicians will inspect, test, and clean your equipment using a kitchen equipment maintenance checklist. They also replace or repair worn-out parts. We recommend requesting for new parts from original equipment manufacturers (OEM). Original parts are high-quality, cost less and are specifically designed for the equipment.
Preventive maintenance prevents costly repairs, last-minute service calls and long downtime.
2. Routine Maintenance
Routine maintenance activities involve daily, weekly and monthly commercial kitchen equipment upkeep, cleaning and sanitising.
You or your kitchen staff can perform routine maintenance tasks according to your supplier’s care instructions. Use a routine equipment maintenance checklist as part of your work order between shifts or at the end of the day:
- Wipe and sanitise work surfaces.
- Scrub and wash the kitchen floor.
- Wash food receptacles, grease cups and waste bins in equipment like mixers and food processors.
- Clean spills and food particles.
- Remove any debris or trapped food particles from vents, grates and filters.
- Check and calibrate temperature settings for equipment like ovens and ice machines.
There are many benefits of routine maintenance. It keeps your kitchen safe and clean. It also prevents grime and dust buildup that affects equipment efficiency.
5 Common Types of Kitchen Equipment: Maintenance Checklist
Use our commercial kitchen maintenance and cleaning checklist template for maintaining kitchen equipment.
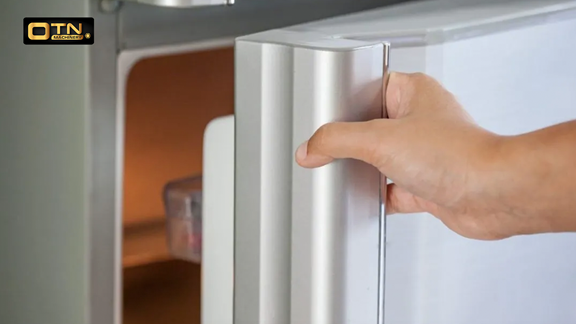
1. Refrigeration Units
-
Check door gaskets, hinges and handles
Check door gaskets and hinges for dirt, rust and damage. Remove grease and dirt with detergent and sponges.
Ensure door seals fit snugly and do not peel off or let air escape. If the handles are loose or rusty, ask a technician to replace them.
Use a screwdriver to secure the screws on loose gaskets. If you need parts replacement, ensure your technician replaces them as a set. The new parts should be specific to your refrigerator model. Ask your kitchen equipment supplier for more information.
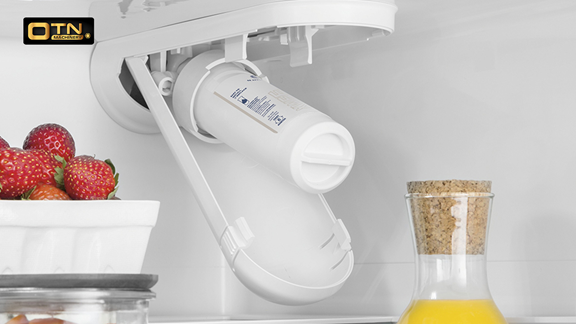
Check your filters monthly. Most refrigerator air filters are reusable and washable.
- Unplug the refrigerator to prevent electric shocks.
- Leave the doors open for easier access and cleaning.
- Remove the air filter and panel.
- Vacuum to remove large debris and dust clumps.
- Wash the air filter with warm water and liquid detergent.
- Dry the air filter before placing it back into the unit.
Ask a technician for help if you face difficulties.
-
Clean condenser coils
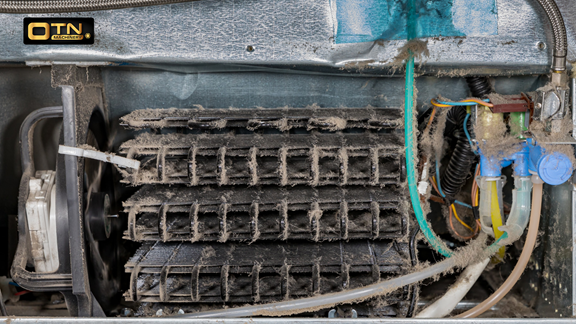
A technician will help you clean and rinse the condenser coils and evaporator coils during scheduled monthly maintenance. They use a brush, pressurised water and commercial non-acidic coil cleaner or liquid detergent. Follow your supplier’s care instructions if you are cleaning it yourself.
-
Check fans
.png)
For blower refrigerators, ensure the fans rotate smoothly and quietly. Replace them if you notice:
- Strange sounds, e.g., hums, rattling, squeaks
- Cracked or worn-out blades
- Fan blades not rotating smoothly
- Fan motors that are not securely attached to the motor rail
Check that your replacement fan motors and blades are specific to the unit. Use store-bought lubricant to lubricate fan motors if needed.
Looking for a new refrigerator instead? Check out the top 5 refrigerator types for commercial kitchens.
2. Oven
-
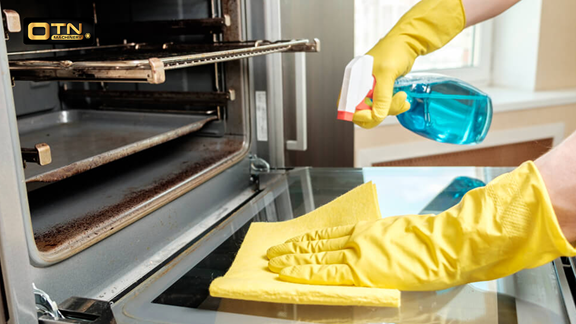
Clean grime and food buildup
Clean your oven on a weekly and monthly basis, or if you notice unusual smells, excessive smoke, and crust buildup inside.
- Prepare a cleaning paste of baking soda and white vinegar.
- Spray the cleaning paste over dirty parts. Focus on electrical components, exhaust fans and heating elements.
- Leave for at least 12 hours before wiping or scrubbing off.
During preventive maintenance, technicians will lubricate and calibrate oven motors and temperature controllers.
Use this guide to help you choose a new commercial oven.
3. Deep Fryer
.png)
-
Wash and clean
Regular deep fryer boil-outs keep your oil tank clean.
- Switch off the fryer. Allow the oil to cool completely.
- Drain cooled oil and remove debris from the drain valve.
- Wipe the interior with paper towels.
- Fill the fryer with cool water.
- Add commercial deep fryer cleaning solution according to the product’s usage instructions.
- Slowly boil the water with the cleaning solution for 20-30 minutes.
- Switch off the fryer. Let the water cool down.
- Drain cooled water through the drain valve. Brush the inside while draining water to remove remaining carbon deposits.
- Wipe the interior with paper towels. Dry thoroughly before use.
To clean exterior surfaces, wipe down with commercial detergent and degreaser.
During preventive maintenance, technicians will inspect:
- Burners and igniters
- Gas lines and piping
- Safety features for drain valves and reset switches
- Temperature controller
- Oil tank
4. Stoves
-
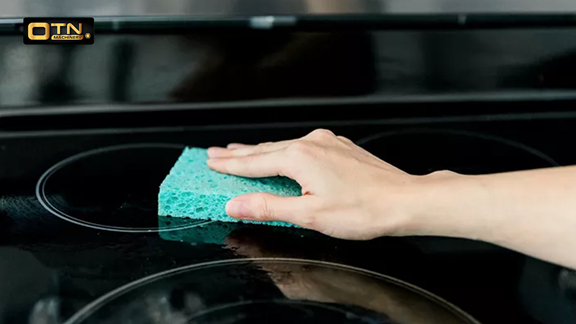
Wipe and clean
- Turn off the stovetop. Allow to cool.
- Mix a cleaning solution of hot water, a teaspoon of dishwashing liquid and a teaspoon of white vinegar.
- Spray cleaning solution on the stove surface.
- Use a sponge to wipe it off.
- Rinse the sponge and repeat until all stains are removed.
- Dry the surface with a microfiber towel.
Use degreaser and detergent to clean stubborn oil stains on fire grates and knobs.
During preventive maintenance, technicians will inspect:
- Burners and igniters
- Rope seal
- Stove pipes
- Fire grates
- Wiring connection
- Gas shutoff (for gas stoves)
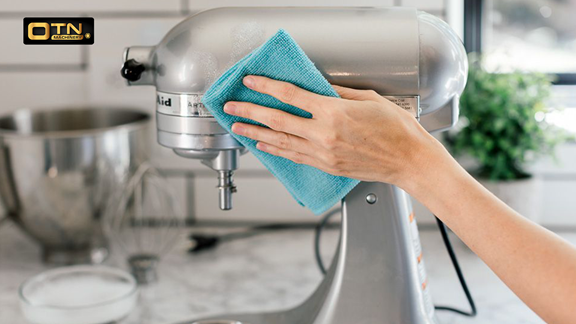
5. Mixers
-
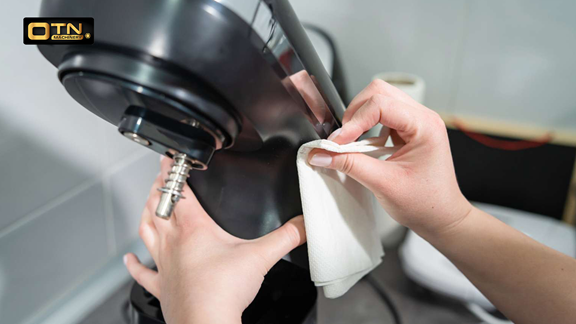
Check lubricant
Lubricate moving parts of the blender like the drive components and shaft bearings. Doing so extends the lifespan of your blender and reduces noise and damage.
- Choose food-grade, inflammable, non-corrosive and non-toxic lubricant.
- Clean dust and grease from moving parts with a soft cloth.
- Apply lubricant with a syringe, funnel or spray nozzle according to the manufacturer’s instructions.
- Avoid over or under-lubrication as it can cause leakage or overheating.
- Run the mixer to check for leaks. Wipe away excess lubricant.
- Clean vents
Air escapes through these vents during mixing. Clean the vents with a cloth or brush to remove accumulated dust.
- Check pulley belts
Check the mixer’s pulley belts and adjust their tightness to ensure they are working properly. Replace them if they are worn out or damaged.
During preventive maintenance, technicians will inspect:
- Agitator shaft seal
- Discharge gate
- Bearings
- Drive belts
- Emergency stop controls
- Speed settings and control panel
Conclusion
Prevent costly reactive maintenance with regular preventive and routine maintenance. It saves costs and maintenance time.
This blog explains 2 kitchen equipment maintenance processes and provides step-by-step routine maintenance instructions for 5 common kitchen equipment. If you’re looking for easy-to-maintain new equipment, check out our must-have equipment list for commercial food businesses.
OTN Machinery Sdn Bhd is Malaysia’s biggest kitchen equipment supplier with years of experience helping food businesses in Malaysia and overseas. Our equipment is compliant with local safety regulations and maintenance standards. We provide regular maintenance and repair services for all our equipment.
May 02,2024